fredag 19 februari 2010

Building a cheap, lightweight, Paris-skipulk

In january the entire family went on skiing vacation to Orsa Grönklitt in Dalarna, Sweden. From experience I knew that transporting the children back and forth to the slopes can be a real chore. Especially when the children are tired after a long day. Having a pulk to pull all the equipment can be a real help. It's also real nice to be able to put the small children in the ski pulk when they decide they've had enough of cross-country skiing several kilometers from home. Last, but not least, I of course saw this as a chance to get an interesting new piece of gear.
Since I don't get a chance to use a skipulk that often I didn't want to spend too much money on it. I don't have as a goal to go on a long arctic expedition with 100kg either, so I figured I didn't really need the robustness of a Fjellpulken. I also had a look at the second-hand market. It is pretty good for pulks here. If you are not worried about weight it is quite easy to find old used Segebaden wooden pulks of good quality. These weigh quite a lot though and they require some care to maintain. There had to be a better alternative.

The Paris Expedition sled
After some googling I found the most authoritative site on skipulks: www.skipulk.com. The nice thing about this site is that they provide an excellent ski pulk PDF-book with detailed descriptions on how to build your own ski pulk. This book, and many others sites, recommend the Paris Expedition sled as a good starting point for a do-it-yourself project. The Paris sled is cheap (around 30€), light (2,2kg) and very durable. It also has good attachment points for packing straps and ropes for pulling. I quickly ordered one from globetrotter.de as there were none in stock at the local retailer kgoutdoor.se.
The Paris Expedition Sled

The hauling system
The pulk book contains a number of different designs for the critical pulk hauling system ranging from very simple designs suitable for flat terrain, to heavy duty systems for alpine use. I didn't have much time for the construction so I made a hauling system loosely based on the "Zinsard"-design. I figured it would be good enough for my purposes. I was not going to use the pulk on rough and steep terrain. It would be used mainly on prepared cross-country tracks.
The hauling system was made from 20mm electrical wire conduit (VP-rör)

The advantage of using plastic conduit is that it is very easy to work with. It is also cheap and you can get angle parts and joints to easily create constructions. It is also very flexible will not hurt you if you fall. The opinions vary on how robust the conduits are, some say they are better than bamboo, some say they are very fragile. For my purposes they worked well. To be on the safe side however, I also reinforced the poles with duct-tape, so that they would not splinter in a dangerous way if they broke. This probably makes them stronger too. The poles where attached to the the pulk by using packstraps through the grommets on the pulk. 
Using conduit joints, the poles can be disassembled for easier transportation

I also added joints so that the poles could be transported more easily. This was done using standard plastic joints for conduit. To keep them in place I also drilled a hole for a nut and a bolt. Later on I also drilled a hole so that the hauling rope went through the poles and all the pull forces where taken by the rope. This is quite useful since the joints don't need to be as strong then. If the poles will break it is also always possible to pull the pulk using the rope.

 A custom hipbelt was quickly sewn

I didn't have any existing hipbelt to use as a harness available, so I sewed my own. It was done in about an hour using nylon, some foam pad, and webbing. I made a mistake however and made the belt to short. It needs to have more padding on the stomach side as well. As attachment points I sewed in some metal D-rings. I did not place these in a good way however. They should be more on the sides so that the poles attach to the side of the body. To attach the poles to the belt I drilled a hole through the poles and threaded to loops of nylon cord through them. These loops could then be attached to the D-rings. This attachment system worked OK, but there is room for improvement. There was too much play between the poles and the hipbelt. Despite these shortcomings the belt worked perfectly OK for the loads that I was pulling.

Field testing
The pulk was mainly used to transport the kids back and home to the slopes. However, I also stressed the hauling system to some degree as I climbed the downhill slope all the way to the top and successfully skied down on a pretty steep slope with around 20kg of young son in the pulk. It worked very well, but I'm not sure how the poles would have handled a fall. I also tried going through the kids "Bumpy ride" training slope as well. On these occasions I could really feel the force of the pulk pushing me in the back, but it worked.
Going down the slalom slope at full speed with Simon lying in the pulk

One situation that didn't go so well however was if I needed to pull the pulk through difficult terrain. Part  of the difficulty could have been that the children were sitting up and produced a top heavy load. Anyway I felt that stronger poles could have been good in that situation. With two kids the pulk was pretty heavy then, probably about 45kg.

All in all, I'm very pleased with the Paris Pulk and the homemade hauling system also worked very well for what it was designed for. It made our winter vacation with the kids so much more fun and a lot easier too.
Children sleeping in the pulk after a long day at the Orsa Grönklitt Zoo

onsdag 27 januari 2010

On Marcus Aurelius and tools for armchair trekking

.
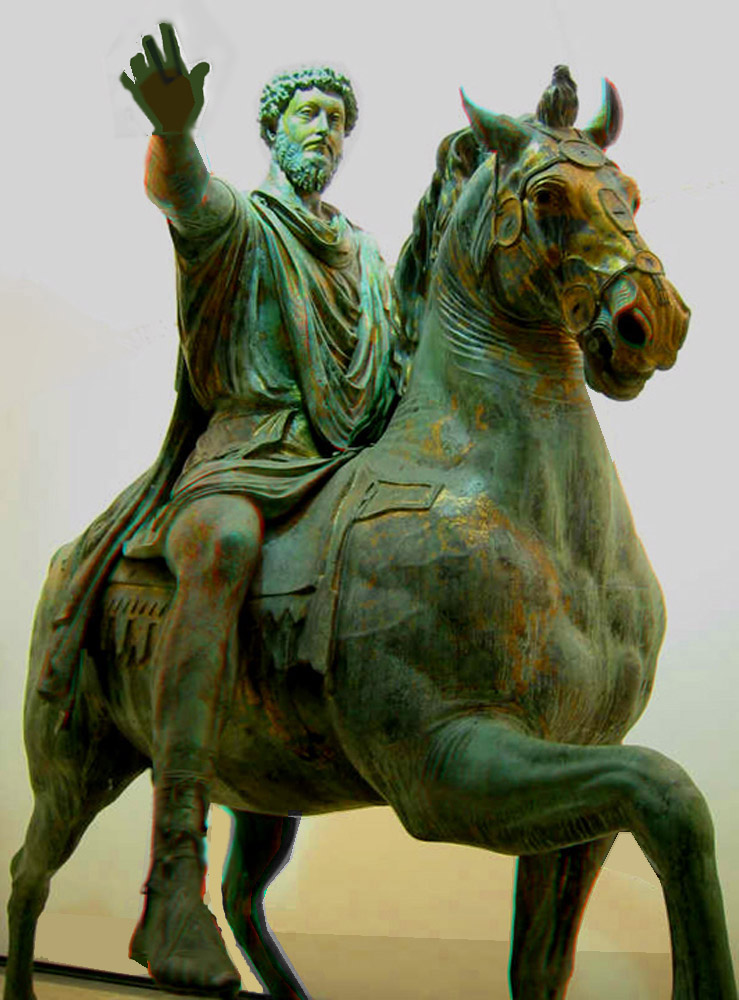
Picture linked from : academic.shu.edu/honors/1101.html

Ever since watching the movie Gladiator, where Marcus Aurelius is depicted  briefly in the beginning, I have been interested in reading more about this Roman emperor. A while ago I finally got around to actually read the texts from the emperor himself, the Meditations. When reading letters from ancient people it is often striking how similar their problems are to ours. Funnily enough, Marcus Aurelius even has some consoling words for a longing armchair trekker like myself.

"People try to get away from it all - to the country , to the beach, to the mountains. You always wish you could too. Which is idiotic: You can get away from it anytime you like.
By going within.
Nowhere you can go is more peaceful - more free of interruptions - than your own soul."

Marcus Aurelius, Meditations, Book four (Translation by Gregory Hays, The Modern Library Classics, 2002)

With two small children, and a third one to arrive soon, I suspect this kind of mental escape will have to comfort me even more in the future. Books and maps certainly help in providing fuel for the journey, but nowadays with Internet applications we can get even closer to the destinations of our dreams.
When doing the research for my increasingly utopian Sarek project route, I used Google Maps, Google Earth and  the  3D maps of  Hitta.se . The quality of the 3D maps (especially Hitta.se) is often amazing.  It's  almost like flying over Sarek in a helicopter. To complement these views of my imagined route, I got extra information from people on the Swedish outdoor forum, Utsidan.se. One kind member, Pär Lindh, even sent me a link to a picture he took of the exact ascent from Sitojaure to Vassjavaggi I was thinking about (I feared that it would be too steep , but from the picture it seems quite OK). It would be interesting to hear from you, dear reader,  what tools you use for armchair trekking.

söndag 8 november 2009

Everyday exercise with kids

I think I've found a way to exercise. Cycling with two kids in the trailer sure was exhausting. The kids liked it too.
Posted by Picasa

lördag 7 november 2009

Sarek on the run in a week - Route planning

In a previous post I outlined an idea for hiking fast and light in order to see the Rapa valley in Sarek national park in under a week. It is still very much an open question if I will find the time for such a trip the nearest years, but planning for it is a pleasure in itself. If I can inspire anyone to do a reconnaissance trip before me that would also be great. One of the most important aspects of the trip is the route planning. For this purpose I have put up a google map and will now discuss some of the choices.

Start point
There are basically two starting points for getting into Sarek and the Rapa valley by public transport: Saltoloukta and Kvikkjokk. I'm leaning towards Saltoloukta as the trail from Saltoloukta to Sitojaure is mostly flat and the scenery is nice, whereas the trail from Kvikkjokk to the Pårte-hut is mostly in the forest.

The midpoint goal
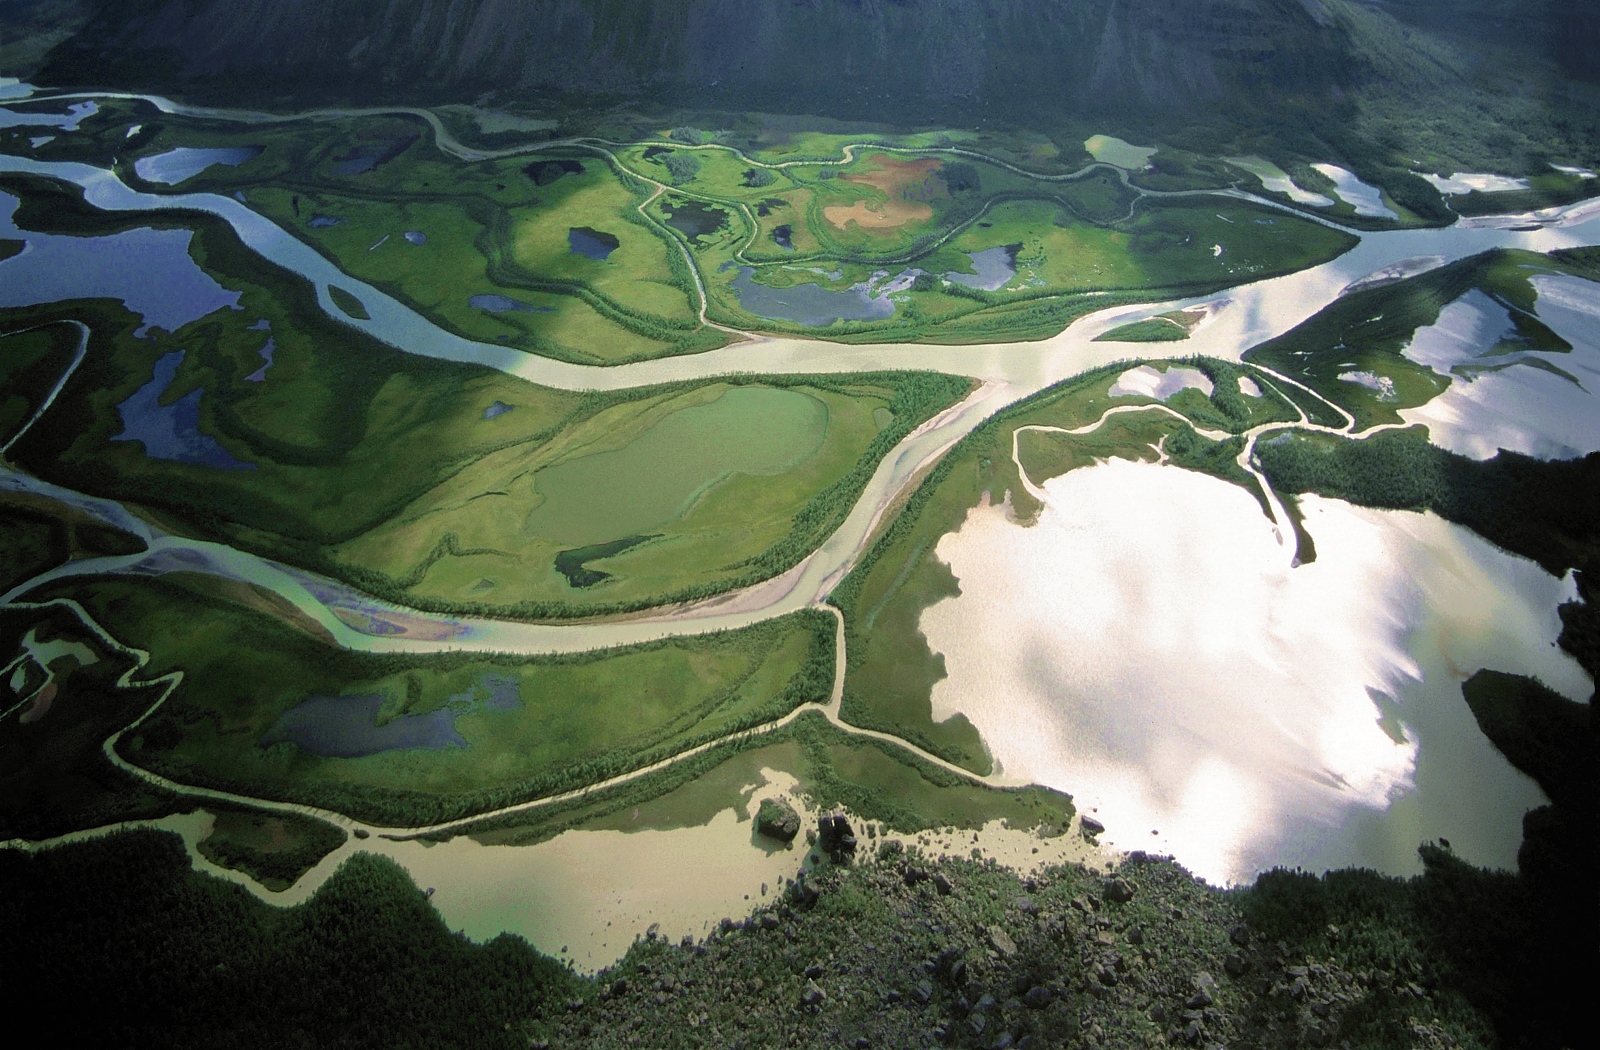
My goal is to see "Rapaselet" (A "Sel" is a stretch of calm water between streams.) and the Rapa-delta. These places are reputed to be among the most beautiful places in Sweden (Even in the world, many would argue.).


The Rapa-delta near Aktse (Source: Creative Commons, M, kluber fotografie)


The Rapa-sel (Source: Creative Commons, photographer unknown.)

The best point for views of the delta is most probably the Skierffe-cliff. From where to view the Rapa-sel is a more difficult question, it depends a bit on how far one can go, but a first stop could be Hill 1112. If one has a bit more time the best place to camp according to the mountain-god, Claes Grundsten, is above the "reindeer-herder hut" on Vassjalåpptå.

Walking plan
If one wants to use a really ultralight shelter, which I want, campsite selection becomes more important. It should not be too exposed to the wind. A site among in the birch-forest is preferable if the weather is windy. This can be difficult to arrange for this trip though.

Day 1: Saltoloukta - Sitojaure. Good camping can be found next to the hut. 20km from Saltoloukta is probably far enough for the first evening, even when runnning. Most probably it will be too late to get across Sitojaure this day.

Day 2: Sitojaure -(By boat) -  Svine - Skierffe - Vassjalåpptå. This will be one hell of a day. The distance will probably be around 24km and this mostly bushwacking in unknown terrain. From my personal experience I often do not tend to walk faster than 2km/h in such circumstances. This translates into 12 hours of walking. Running will most likely be difficult on this stretch. During summer it doesn't really get that dark though, so you can walk well into the night.

Day 3: Vassjalåpptå - Skierffe. 12km. A cool day for taking in the sights.

Day 4: Skierffe - Svine - Saltoloukta. A 31km day, but this time on well-beaten paths.

Day 5. Reserved for unexpected (mis)happenings.

Day 6 Travel home.

An alternative on day 2 is to arrange for the boat to drop you off approximately 3km east of Rinim, instead of Svine (Thanks again to Claes Grundsten for this personal tip). This will reduce the distance to around 12km, but the climb up from Sitojaure to Vassjavagge will be steep. At it's steepest it will be about 500m in a km. It would be nice to hear if anyone has any more experience of this area. This choice will also allow for taking a different route on the way back to Svine.


Calle enjoying the fantastic scenery during the boat-trip back from Rinim to the Sitojaure hut. In the background you see Namadis which is hiding the entrance to Basstavagge where we came from.

måndag 2 november 2009

Sarek on the run in a week - A crazy idea?

Five years ago I hiked in Sarek, Lapland. It was a fantatastic experience. I would love to go there again, but it is very difficult for me to get away for a longer period and it takes quite a lot of time (Approximately 2 days) just to get into the national park. After having switched to lightweight equipment I have however regained the hope of getting there again. A crazy idea was born: I should be able to hike so fast that I could reach the Rapa-valley and get back in under a week. I MUST see the Rapa-valley before I die.

Kungsleden with Lulep Gierkau in the background. Still at least a day from Sarek national park. The trail is like a highway and running should not be a problem at least to Sitojaure.


Fording a stream near Lietjitjaure. Ähpar and Pierikpakte in the background. Fording can be very dangerous in Sarek.

Several questions need to be answered for such a an endeavour to be succesful:

  1. Route planning - What is the optimal route that will maximize interesting hiking and provide for good running?
  2. Equipment - How heavy a pack can be tolerated when you are running? What kind of pack? What kind of shelter?
  3. Safety - How light can you go without sacrificing safety? Sarek is a wilderness area and there are no trails. If you fall, noone will hear you scream.
  4. Fitness - I almost never find time for exercise. What do I need to cope with to feel safe before going?
  5. Season - What is the best season for such a fast and light hike?
  6. Travel planning  - How do you get to Sarek in the cheapest and fastest way?
  7. Resupply - How much food should I carry?
Is this a good idea at all? Will I be able to find anyone to come with me on such an innovative trip? Should I plan to do something easier instead with the time I have? I will follow this post with some thoughts on the different topics soon. Any comments and hints are welcome.

onsdag 7 oktober 2009

Bushbuddy cooking above Vålådalen

My trip to Vålådalen was the first trip where I relied solely on the Bushbuddy for all cooking, The only backup I had were a few Esbit tablets. In total I cooked 7 meals (I boiled water for soup and rehydration of freeze dried food and also cooked oatmeal porridge in the morning.). Out of these meals, 2 were prepared above the treeline with fuel from the spot. In no case did I have any problem in finding fuel. Most of the time sufficient fuel was gathered in the matter of minutes as I went along. I never needed to use the Esbits, but I did use quite a lot of the birch bark I had taken with me as firestarter. The weather conditions where very good during the trip, but it had been raining a lot the days before I arrived. I have managed to acheive a boil in much more difficult conditions than these, so weather-wise I had no big challenges.
Above the treeline experiences

Difficult to find fuel at 1200m altitude? - Not at all!
This trip confirmed my experience that it is quite possible to find good fuel above the treeline. The key here is that the Bushbuddy really requires so litte of it. Many small twigs are also a lot better and more efficient than big branches. The nature of the ground also helps a lot since water is drained away very quickly here.

Look closer at the ground - Lots of good dead crowberry roots here. Such roots are available almost everywhere above the treeline and they burn very well. So well in fact that birch bark is not always necessary as a firestarter.

If fuel wasn't a problem, the wind sometimes was. It really helps a lot to find a spot that is sheltered from the wind. A windscreen helps, but it is no substitute. Fuel consumption and cooking time increases dramatically if the flame is disturbed. A few extra minutes for site selection is worth it.

Excellent site on the leeside of a big rock

The flame is undisturbed and hot blueberry soup is soon forthcoming

tisdag 22 september 2009

3 days solo hiking in Vålådalen

I just got back from 3 days hiking in Vålådalen, Jämtland, Sweden. I hesitated a lot before going, but finally bought a train ticket and went on my own. It was my first solo trip. It was one of the best decisions I've ever made. It was a fantastic trip. Here is a link to a photo album from the trip:
Picase photo album from Vålådalen
I will write more on my experiences soon. It was an interesting trip in many respects. It was my first solo trip. I also saw the beautiful autumn colours the first time and I used the Bushbuddy for cooking all meals.

Lillådörren seen from Saalvantjahke

The lake at Lunndörrsstugan in the evening sun